
How to Buy Property in India: Step-by-Step Guide for First-Time Buyers (2026)
Learn how to buy property in India with this practical guide for first-time buyers. Discover the exact steps, legal checks, and budget tips to make your first property purchase smooth and secure.
Buying your first property in India feels like navigating a maze blindfolded. You’re not imagining it — the process really is that layered.
Here’s what nobody tells you upfront. Most first-time buyers spend weeks researching properties but less than three days understanding the paperwork that actually protects them. That’s backwards. The property you choose matters, sure. But the legal groundwork you skip will haunt you longer than any layout flaw ever will.
This isn’t a theoretical guide. This is what actually works when you buy property in India in 2026 — written for someone who’s doing this for the first time and doesn’t want expensive surprises six months in.
Step 1: Figure Out Your Real Budget (Not the Dream One)
Start here. Not with property hunting.
Your real budget isn’t what the bank will lend you. It’s what you can comfortably pay each month without turning your life into a countdown to EMI dates. A business owner in Pune learned this the hard way — approved for ₹87 lakh, he borrowed ₹82 lakh. Eighteen months later, he was scrambling to restructure because every unexpected expense became a crisis.
Calculate three numbers before you browse a single listing. Your down payment — typically 20% of the property value. Your monthly EMI capacity — financial advisors suggest keeping this under 40% of your monthly income, but 30% feels more breathable. And your buffer fund — at least ₹3-4 lakh for registration, stamp duty, legal fees, and those delightful surprise costs that appear right before possession.
Use a home loan eligibility calculator. Most banks have them on their websites. Feed in your actual income, existing loans, and preferred tenure. The number it spits out? Reduce it by 15%. That’s your realistic loan amount.
Don’t forget the hidden costs. Stamp duty in Maharashtra is around 6-7% of property value. In Karnataka, it’s about 5-6%. Registration charges add another 1%. Then there’s GST on under-construction properties — 5% if it’s affordable housing, 12% otherwise. Legal fees, property inspection, home insurance — suddenly that ₹50 lakh property needs ₹58 lakh to actually close.
One more thing. Pre-approved loans move faster. Get your loan pre-approved before you start property hunting. It gives you negotiating power and cuts weeks off the final process. Walk into HDFC, SBI, ICICI, or whichever bank you’re comfortable with. Get that pre-approval letter in hand.
Step 2: Choose the Right Property Type and Location
This is where first-time buyers in India make emotional decisions they regret later.
You don’t need your dream home right now. You need a property that fits your current life, holds value, and doesn’t lock you into a location you’ll want to leave in three years. Think of your first property as a financial decision that you happen to live in — not a forever home that happens to cost money.
Ready-to-move-in or under-construction? Ready properties cost more upfront but you know exactly what you’re getting. Under-construction properties seem cheaper — and they are — but they come with possession delays, quality surprises, and that uniquely Indian phenomenon where “6 months to completion” means “we’ll see.”
If you’re buying under-construction, only consider projects from builders with a clean track record. Check their past projects. Visit them. Talk to people who actually live there. A builder’s marketing material means nothing. Their completed projects mean everything.
Location matters more than size. A 2BHK in a well-connected area with metro access, schools, and hospitals will appreciate faster and rent easier than a 3BHK in a distant suburb with promises of future infrastructure. Infrastructure in India has two timelines — the official one and the real one. Plan for the real one.
First-time buyers often chase space. Big mistake. Chase connectivity, resale value, and rental demand. A Channel Partner in Bangalore told us that 73% of first-time buyers who prioritized size over location tried to sell within four years. Those who did the opposite? Most still own those properties as investments.
Check the area’s property price trends over the past three years. If prices have been stagnant while surrounding areas grew, there’s usually a reason — poor connectivity, water issues, unclear land titles in the zone, or upcoming industrial projects nobody wants to live near.
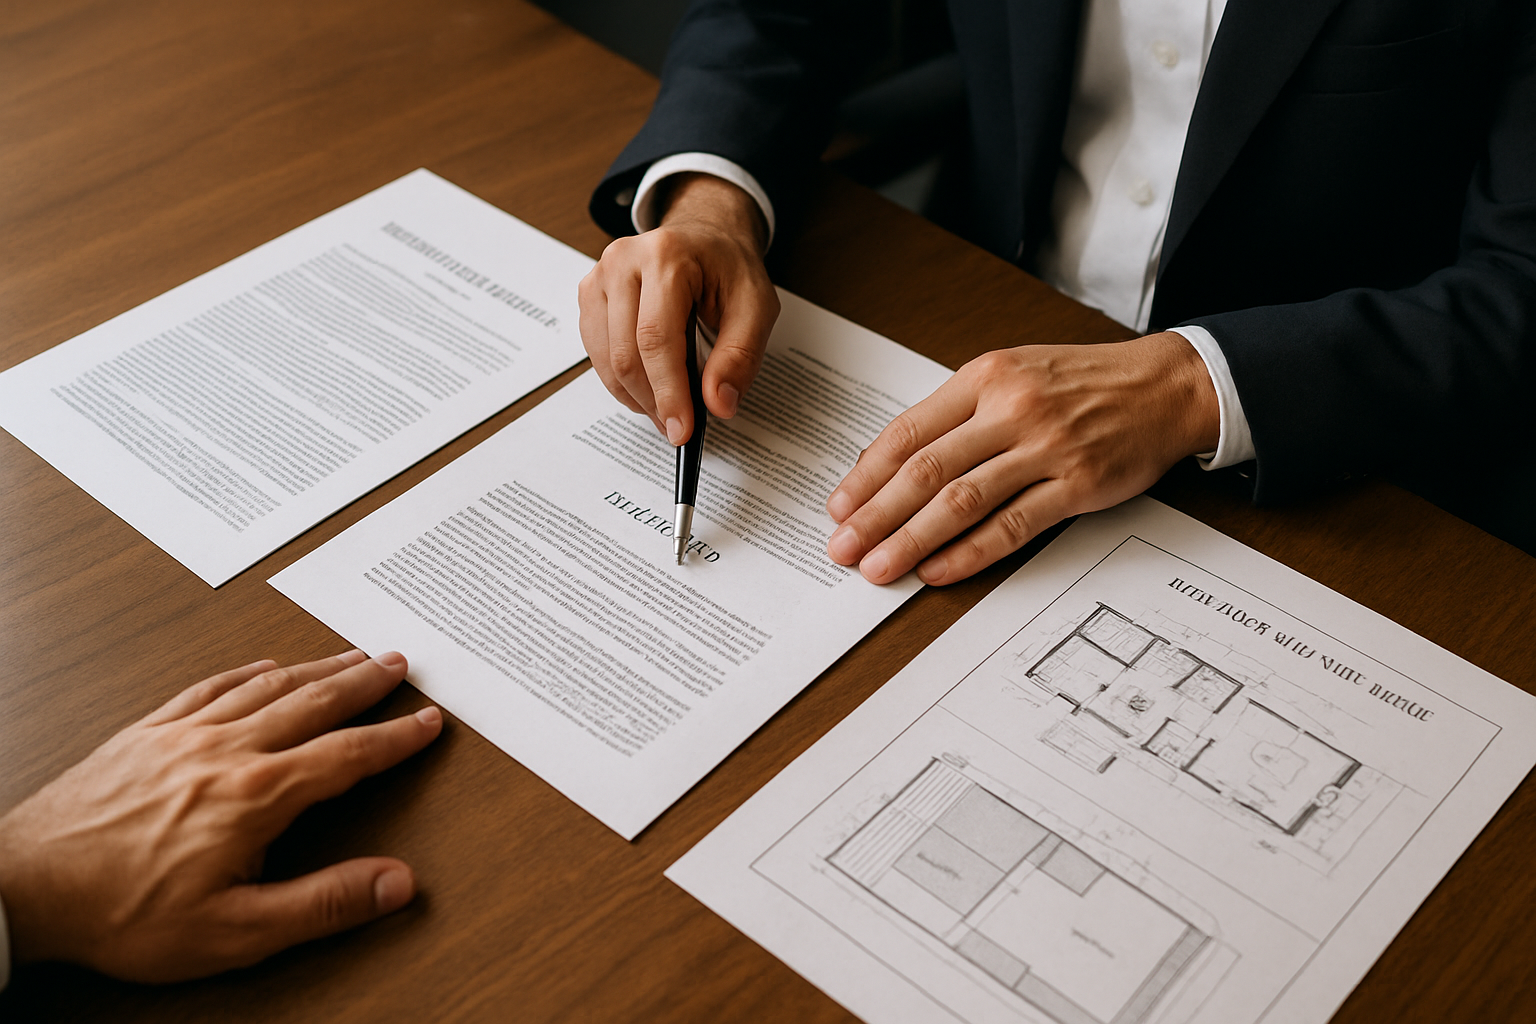
Step 3: Verify the Property Documents Before You Fall in Love
Here’s the uncomfortable truth about buying property in India. The property might look perfect. The deal might feel right. But if the documents are messy, you’re buying a lawsuit, not a home.
Get a property lawyer involved early. Not at the end. Not when you’re “almost ready to close.” Now. Budget ₹15,000 to ₹30,000 for a proper legal verification. It’s the best money you’ll spend in this entire process.
For an apartment, you need to verify these documents at minimum. The sale deed — proves the seller actually owns the property. The encumbrance certificate — shows the property has no legal dues or loans against it. The occupancy certificate — confirms the building is legally allowed to be occupied. Approved building plans from the local municipal authority. And the society’s NOC if you’re buying in a registered housing society.
That encumbrance certificate matters more than most buyers realize. It’s a record of all transactions on that property for the past 13-30 years depending on the state. Get it from the sub-registrar’s office. Any gaps, multiple transactions in short periods, or loans that weren’t cleared? Walk away or negotiate hard.
For independent houses or plots, add these to your checklist. The parent document or mother deed — traces ownership history. Land use certificate — confirms the land is approved for residential construction. Betterment charges and land tax receipts — shows all municipal dues are clear. And a survey report to confirm boundaries match the documents.
One client in Hyderabad skipped document verification to “save time.” The property had a pending litigation from 1998 that the seller casually forgot to mention. He discovered it six months after possession when the original claimant showed up with a court notice. The case is still ongoing in 2026.
Use the government’s property document verification portals. Most states have them now. Karnataka has Kaveri Online for property records. Maharashtra has the Inspector General of Registration portal. These aren’t perfect, but they catch obvious red flags.
If the seller rushes you or gets defensive about document verification, that’s your sign. Legitimate sellers with clean properties don’t panic about due diligence. Sellers with problems do.
Step 4: Visit Properties Multiple Times (and Bring Someone Skeptical)
One visit isn’t enough. Not even close.
Visit at different times of day. Morning light hides things afternoon sun reveals. That quiet neighborhood at 11 AM might be a traffic nightmare at 7 PM. Water pressure that seems fine during off-peak hours might be pathetic when everyone’s home. A builder’s sample flat has better fittings than the actual unit you’ll get — always visit the real floor plan if possible.
Bring someone who won’t get emotionally attached. Your skeptical friend. Your detail-obsessed colleague. Someone who’ll check if windows actually open, if walls have seepage marks, if that fresh paint is covering cracks. First-time buyers walk into properties and picture their furniture. Smart buyers walk in and look for reasons to walk out.
Check these things most people ignore. Mobile network strength in every room — yes, really, some buildings are concrete signal killers. Water quality and pressure. Ventilation in bathrooms and kitchen. Distance to the main road and noise levels. Parking availability and visitors parking. Lift condition and whether there’s a backup. Common area maintenance and if it looks actually maintained.
Talk to current residents or neighbors. Ask them what they wish they’d known before buying there. You’ll learn more in ten minutes of honest conversation than three property tours. Ask about power cuts, water supply issues, security concerns, any neighborhood disputes, and whether the builder or society actually responds to complaints.
For under-construction projects, visit the site on a working day. Are workers actually there? Is construction progressing or has it stalled? Check the builder’s other ongoing projects too. If they’ve stalled three projects, yours might be number four.
Take photos and videos of everything. Walls, fixtures, views from windows, parking spots, common areas, the approach road. You’ll need these for comparison when you visit other properties, and they’re useful if you need to prove pre-existing damages later.
Step 5: Negotiate Like You Actually Want a Deal
Most first-time home buyers in India negotiate badly. They either don’t negotiate at all because they’re scared of losing the property, or they lowball so hard the seller stops taking them seriously.
Here’s better approach. Research comparable properties in the same area. Check recently sold properties, not just listed ones — listing prices and actual sale prices in India can differ by 8-12%. Platforms like Freeperty show you real listings from owners, brokers, and developers, giving you a realistic picture of market rates.
Use facts, not feelings. “This seems expensive” gets you nowhere. “Three similar 2BHKs in this society sold for ₹48-52 lakh in the past six months, and this unit is on a lower floor with less sunlight” gives you leverage.
For ready properties, you have more room to negotiate. Sellers often need liquidity and will come down 5-8% if you’re a serious buyer with funding ready. For under-construction, builders rarely negotiate on price, but they’ll throw in free upgrades, better floors, parking, or modular kitchen packages worth ₹2-3 lakh.
Timing matters. End of financial quarter or financial year, builders have targets to hit. That’s when they’re flexible. Festival seasons see promotional offers. Distressed sellers moving cities or facing financial pressure will negotiate more than someone casually testing the market.
Never reveal your maximum budget. Never show desperation. If you’ve seen six properties and loved only this one, the seller doesn’t need to know that. Walk in like you have options — because you should actually have options.
Get everything in writing. Verbal promises about repairs, inclusions, or possession dates mean nothing. If the seller agrees to fix the bathroom tiles or include certain fittings, it goes in the agreement. If the builder promises a clubhouse or park, check if it’s in the brochure and the registered documents.
Token money locks the deal but protect yourself. Keep it reasonable — ₹50,000 to ₹1 lakh typically. Get a receipt with clear terms: what happens if your loan doesn’t get approved, what happens if the seller backs out, what’s the timeline for signing the final agreement. Too many first-time buyers hand over ₹2-3 lakh as token and then lose leverage.
Step 6: Lock Your Home Loan and Don’t Get Loan-Lazy
You have property loan pre-approval. Good. Now get the actual sanction based on the specific property you’re buying.
Different banks have different property approval criteria. Your loan might be pre-approved based on your income, but the bank might reject the specific property if documents are unclear, the builder isn’t on their approved list, or the property valuation comes lower than the sale price.
Submit your final loan application immediately after token payment. You’ll need identity proof, address proof, income proof (salary slips for salaried, ITR for self-employed), bank statements for 6 months, property documents, sale agreement, and allotment letter if it’s under-construction.
The bank will send a technical and legal evaluation team. The technical team checks if the property valuation matches the loan amount. The legal team verifies documents. Both need to clear before final sanction. This takes 2-4 weeks typically — sometimes faster, often slower. Plan accordingly.
Compare interest rates, but don’t obsess. A 0.25% difference in interest rate matters less than processing efficiency and customer service quality. A loan that’s 0.3% cheaper but takes three extra weeks and has terrible documentation support will cost you more in stress and potential deal collapse.
Fixed rate or floating rate? In 2026, most buyers in India choose floating rates because they’re lower and you can prepay without heavy penalties. Fixed rates make sense if you expect rates to jump significantly and you’re bad at prepayments.
Read the fine print on prepayment terms, processing fees, legal fees, and hidden charges. Some banks charge zero for online prepayment, others charge 2-4%. That matters if you plan to close the loan early.
Keep your credit behavior clean during loan processing. Don’t apply for new credit cards, don’t max out existing cards, don’t co-sign other loans. Banks monitor your credit score until disbursement. A sudden score drop can stall or reverse approval.
Step 7: Sign the Agreement and Register the Property
You’re close now. Don’t rush this part.
The sale agreement is the legal contract between you and the seller. It should include the exact property details, total sale price, payment schedule, possession date, what happens if either party backs out, and penalties for delays. Get your property lawyer to review it line by line. Budget lawyers miss things. Good ones catch expensive problems.
For under-construction properties, you’ll sign a Builder-Buyer Agreement. This is governed by RERA (Real Estate Regulatory Authority) now, which gives you more protection than buyers had five years ago. Check if the project is RERA registered. If it’s not, don’t buy — it’s that simple. You can verify registration on your state’s RERA website.
Schedule the property registration at the sub-registrar office. Both buyer and seller must be present with original documents and identity proofs. You’ll pay stamp duty and registration charges here — bring a demand draft or be ready for online payment.
The sub-registrar will verify documents and both parties’ identities. Once satisfied, the sale deed is registered and you get a receipt. The final registered document takes a few days to a few weeks depending on the state. This registered sale deed is your ultimate proof of ownership.
After registration, update property tax records in your name with the local municipal corporation. Apply for khata transfer if you’re in Karnataka, or equivalent property tax record change in your state. This is often delayed or ignored by new buyers. Don’t. It affects property tax bills and is needed for future resale or any municipal permissions.
Get property insurance immediately. Home loan banks often mandate it anyway, but even if they don’t, get it. Fire, earthquake, flood coverage costs ₹3,000-7,000 annually for properties worth ₹50 lakh and it’s one unexpected disaster away from being the smartest ₹5,000 you ever spent.
Step 8: Plan for Possession and Immediate Move-In Costs
Congratulations, you own property in India. Now comes the part that empties your wallet one more time.
For ready properties, you’ll do a possession walk-through. Bring your comparison photos from earlier visits. Check every fixture, every wall, every corner. Water leaks, electrical issues, broken fittings — document everything. Get a snag list signed by the seller or builder agreeing to fix issues before you take possession.
For under-construction properties, builders notify you 2-3 months before possession. You’ll pay the final installment after occupation certificate is issued. Do not skip the pre-possession inspection. Bring a property inspector if your budget allows — they charge ₹5,000-12,000 and find issues you’ll miss.
Budget for immediate expenses. Painting and minor repairs — ₹30,000-60,000 for a 2BHK. Modular kitchen if not included — ₹1.5-3 lakh. Electrical and plumbing fixes — ₹15,000-40,000. Pest control — ₹3,000-8,000. Society or maintenance deposits — ₹20,000-80,000 depending on the property. Furniture and appliances — well, that depends entirely on you, but it adds up faster than you expect.
Connection charges for electricity, water, and gas add another ₹8,000-15,000 collectively. Internet and cable connections. Property tax for the year. Society maintenance starts from month one.
Set up auto-payment for your home loan EMI before the first due date. Missing your first EMI is a terrible way to start your property ownership journey. Set reminders for property tax, society maintenance, and insurance renewal dates.
Create a home maintenance fund. Stuff breaks. Plumbing fails. Electrical panels need service. Paint peels. Budget ₹2,000-5,000 monthly for maintenance and repairs. Most first-time buyers don’t, and then one emergency expense throws their budget into chaos.
Frequently Asked Questions
What is the minimum down payment required to buy property in India?
Most banks require a minimum down payment of 20% of the property value for home loans in India. For properties valued at ₹30 lakh or less in metro cities and ₹20 lakh in non-metro areas, some banks offer loans up to 90%, meaning a 10% down payment. However, higher down payments reduce your loan amount, interest burden, and EMI, making 25-30% down payment a better financial choice for first-time buyers if you can manage it.
How long does the property buying process take in India?
For ready-to-move-in properties with clear documents, the entire process from property selection to registration typically takes 45-75 days if your home loan approval moves smoothly. Under-construction properties have longer timelines — loan sanction takes 3-5 weeks, and possession can be delayed by 6-18 months beyond the promised date depending on the builder. Factor in an extra 2-3 weeks for thorough document verification. Never rush property purchase to meet artificial deadlines — proper due diligence takes the time it takes.
Is it mandatory to hire a property lawyer when buying property in India?
Legally, no — but practically, yes. Property document verification requires understanding sale deeds, encumbrance certificates, title history, local regulations, and spotting legal red flags that untrained buyers miss completely. A property lawyer costs ₹15,000-30,000 for residential property verification but protects you from disputes, fraudulent sellers, unclear titles, and legal complications that could cost you lakhs or even the entire property. Think of legal fees as insurance, not expense. First-time buyers who skip this step have the highest rate of legal troubles after purchase.
Should first-time buyers choose under-construction or ready-to-move properties?
Ready-to-move properties are better for first-time buyers in 2026 unless you have a high risk tolerance and flexible timelines. You see exactly what you’re buying, possession is immediate, no construction delays, and resale is easier if your circumstances change. Under-construction properties cost 10-18% less and offer payment plans, but they come with possession delays, quality variations from samples, potential builder defaults, and GST on top of the quoted price. If you’re buying under-construction, only consider RERA-registered projects from builders with proven track records of on-time delivery.
What are the tax benefits for first-time home buyers in India?
First-time home buyers in India can claim income tax deduction up to ₹1.5 lakh per year on home loan principal repayment under Section 80C. Interest payment deduction of up to ₹2 lakh per year is available under Section 24(b) for self-occupied properties. Additionally, first-time buyers purchasing property valued up to ₹45 lakh can claim an additional deduction of up to ₹50,000 on interest under Section 80EEA if the loan was sanctioned between April 2019 and March 2022 — this benefit has been extended in subsequent budgets. Together, these deductions can reduce your taxable income by ₹3.5-4 lakh annually, translating to significant tax savings depending on your income slab.
Ready to Start Your Property Search?
Buying property in India as a first-time buyer doesn’t have to feel like walking through fog. You know the steps now. You understand the timelines, the costs, and what to watch for at each stage.
Start with your budget — the real one, not the aspirational one. Get your loan pre-approved. Then start exploring actual properties with clear documents and verified listings. Freeperty gives you access to thousands of verified property listings from owners, brokers, and developers across India without subscription fees or hidden charges. Every property listing is a searchable page, making it easier for first-time buyers to discover options that match their budget and requirements.
List your property for free or browse properties at https://freeperty.com/properties and start your property buying journey with complete transparency.
Take your time. Rush creates regrets. Patience creates solid investments. Your first property is the foundation of your real estate journey — build it on verified documents, realistic budgets, and clear-headed decisions, not emotions and seller pressure.